Planting Seeds the Ken Landon Method
Planting Seeds the Ken Landon Method
For those of you who are fortunate enough to get seed pods to set on your waterlilies, the most important information you can have at that point is how to successfully sow the seed so that you may grow them out and hopefully get something new and beautiful that has not been seen before.
I have tried many methods in the past to get seed to grow while not letting them float out of the medium. I watched Ken Landon plant some Nymphaea elegans seed and asked him to explain in detail the process he has perfected over the last few decades.
The trick he said was in getting the seed to stick in the dirt without being buried too deep in the medium.
For starters, you want to get a container with dirt that will be used to start the process of growing your possible new hybrids. You do not want the dirt to contain fertilizer. The lilies will live off of the seed initially and too much fertilizer can burn them. In addition to possible harm to the baby lilies, you also will end up with an unwanted algae bloom.
I have tried doing this before and many times I had algae growing and the killing off any emerging plants. I asked how to prevent the growth of algae that many times kills my seedlings. I have grown them in containers that were big enough to start the lilies and have enough water to adequately let them start growing. I was actually creating a micro climate that was conducive to the growth of algae. Ken said I needed to put the seedling container in a body of water that is approximately 100 times the volume of the seed container. By doing this and starting out with fresh pristine water you give your seeds the best chance to grow. When you plant the seedlings in a small container, in addition to creating an environment that aids in the growth of algae, you also create another problem for your seedlings. In a small container you will lose a lot of water to evaporation in a warm or hot climate. As the water evaporates it raises the chemical content of the water. Even by adding more water you do not lower the chemical content enough over the period of time necessary to start your seedlings so that they are not unduly stressed.
Now that we have covered the initial needs and reasons for them, we will move on to the planting process. Take your container that contains your dirt. Your seed at this point will be in water if you have recently decanted it to remove the arils. You want to pour off any excess water before the next step. You want to pour the seeds into the dirt in such a manner so that when you are finished the top of the dirt is wet but without a lot of standing water. Ken planted the Nymphaea elegans seeds at about 7:00 pm at night. After he poured the seeds and water into the dirt, he spread it around enough so that the top of the dirt was evenly moist. He then placed some plastic over the seedlings and left them for the next day. When we came back to the seed trays the next morning, the dirt had soaked all of the water up. The seeds were stuck in what looked like semi moist clay. Some of the seeds that had filiform leaves could be seen stuck in the semi dry mud. He then slowly lowered the seed containers into the pond. It was a carefully maneuvered process but none of the seeds broke loose or floated out of the medium. I wanted to get some pictures of this process. I was afraid that if I did it in the evening for the first ¾ of the steps the pictures would not be good enough. I did the entire process in the early morning. I had enough sun and heat to accomplish the same thing as an overnight stay in the dirt but if I was doing this for myself without the need to record the project I would probably follow Ken’s way of doing things to ensure success.
I have pictures of the entire process including what it looked like several hours later with no evidence of seeds breaking loose.
The final comment from Ken is that in nature, lily seeds fall into the muck below the parent plant. Seeds do not need strong light as they normally would be covered by pads above them from the parent. They normally grow in darker cooler water in the initial stages. Ken suggested putting several layers of plastic sheeting above the seedlings to diffuse and filter the light as well as keep the water cooler than it would be in direct sun. After taking these pictures, I moved my large containers to a shady spot to keep temperatures more tolerable.
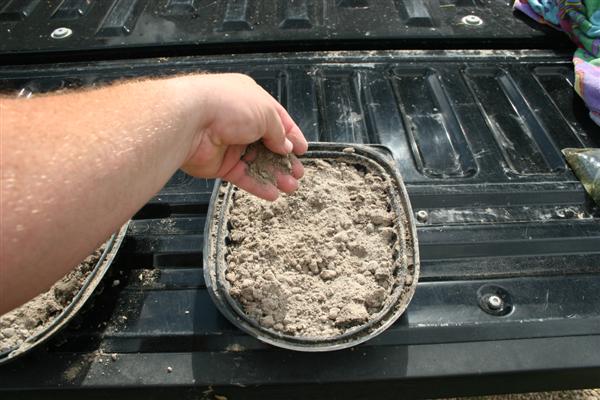
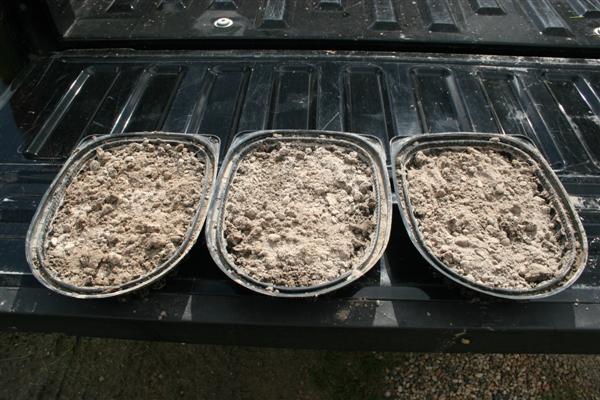
Dry dirt in a planting container that has not been fertilized.
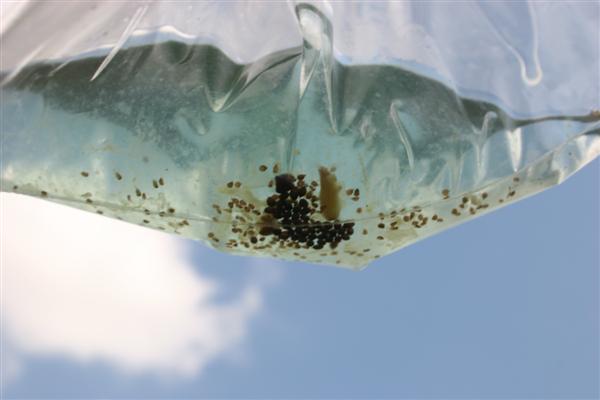
Images of Seed Decanted Fully and Not Decanted Fully to remove arils.
You want the seeds to be decanted fully so that they do not float away as nature intended.
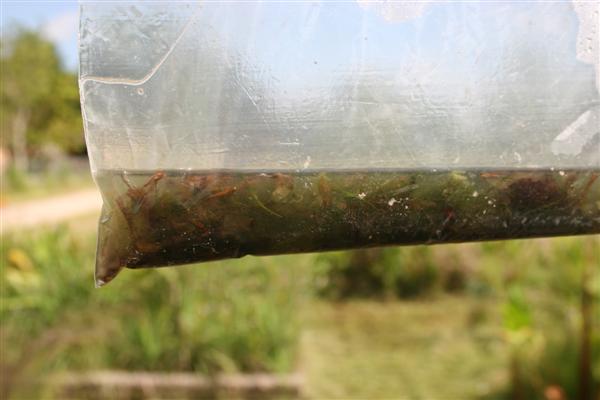
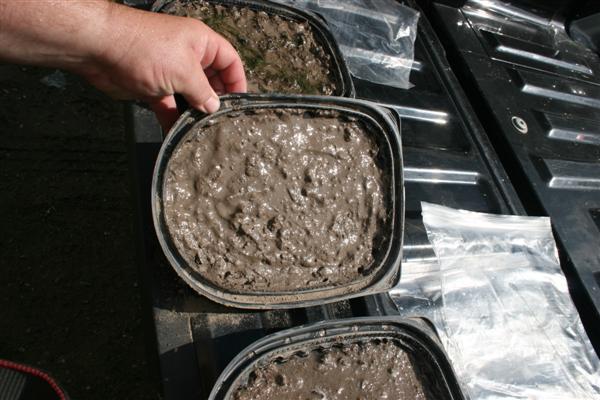
Seed that will be poured in each dirt container without fertilizer. Pour off excess water before pouring into dirt.
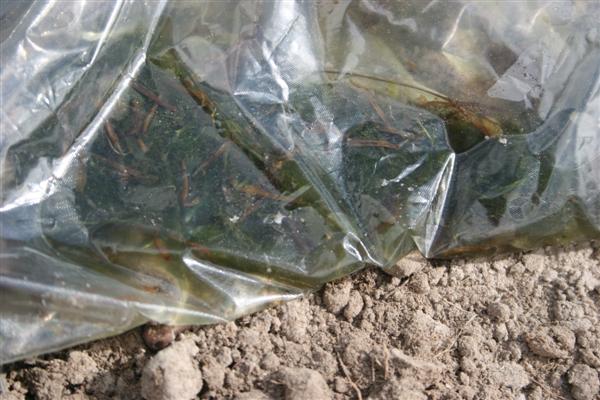
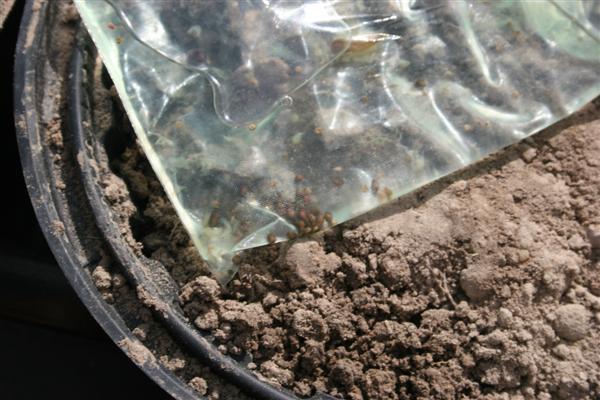
Images of the seed that has just been poured into the dirt.
30 minutes later as water is soaking into the dirt.
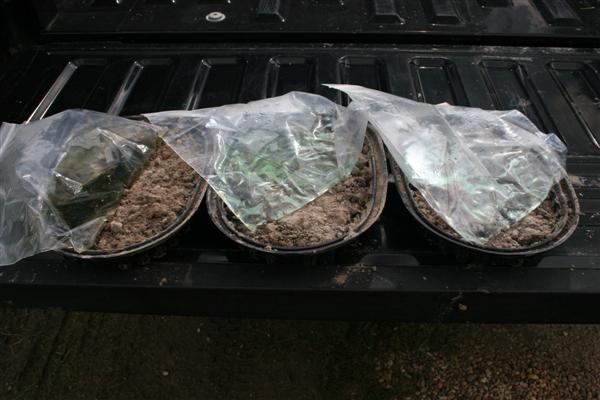
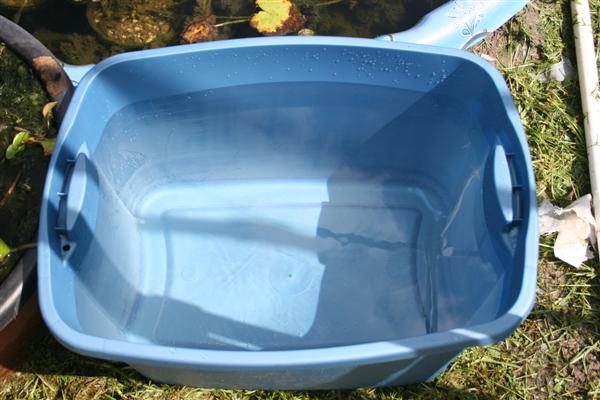
Prepare fresh water in a tub with relatively large volume of water to seed container size.
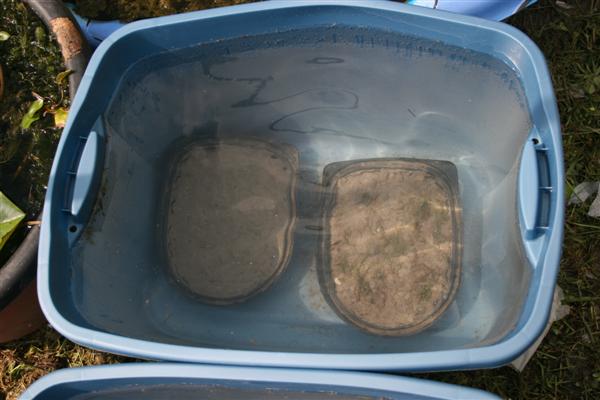
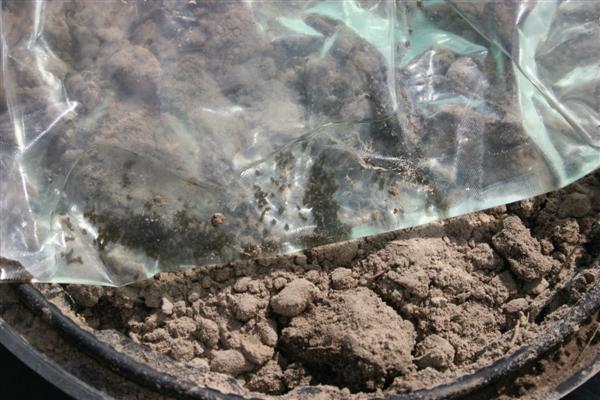
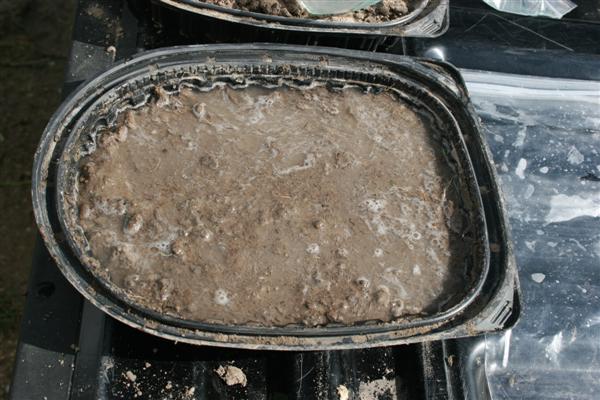
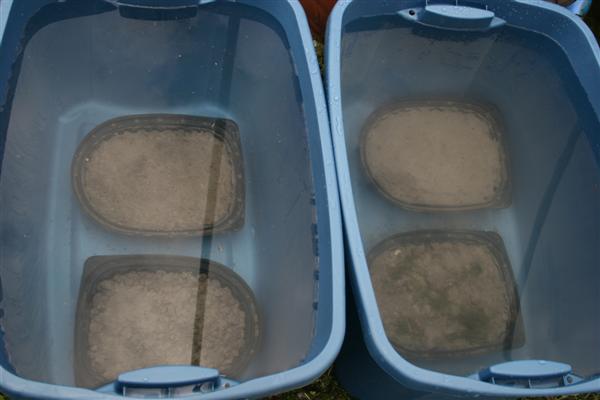
Seed needs to be placed into water slowly. Lower in at a slight angle to keep water from rolling over the edge of the planting container. You will notice a bit of mud haze in the picture after the containers were placed but no seed broke loose from the previously dry planting medium.
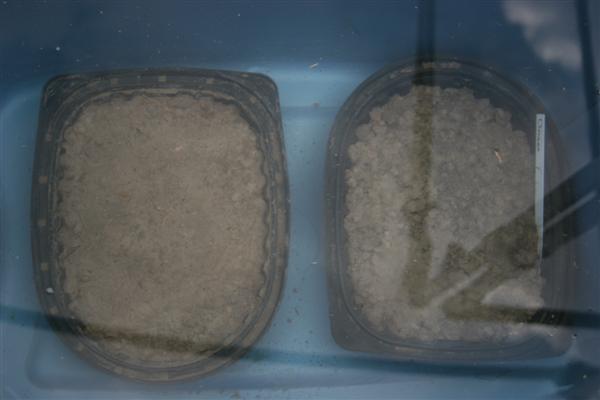
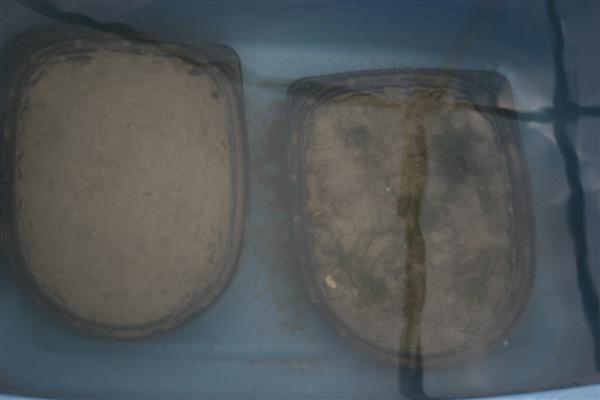
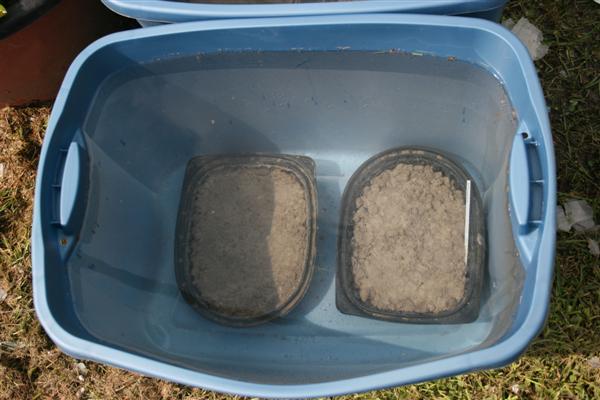
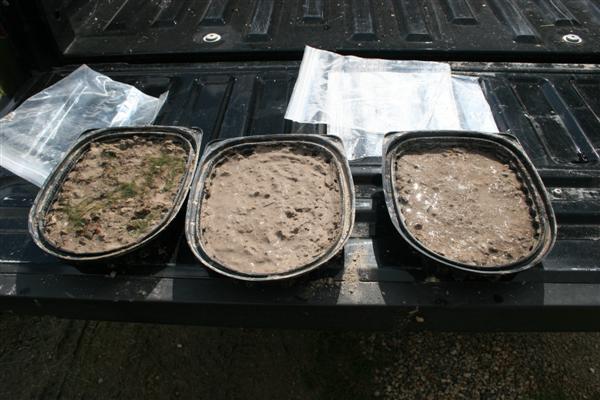
1 hour after placing the seed containers in the tubs the sediment had settled and the seed was all in the trays where I wanted it to be. Protect the seeds and future growth from bright sun, snails, fish, algae growth etc.